Save Time with Templates
Establish Your Signers
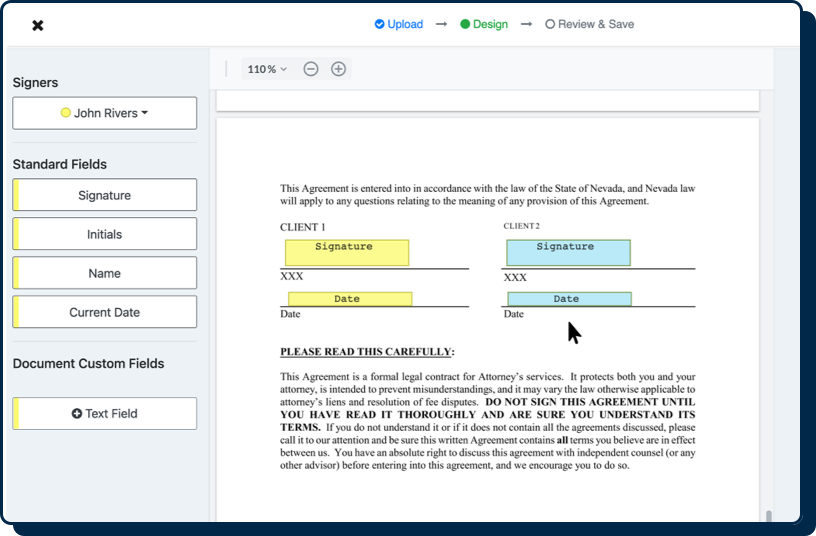
Place Your Fields
Simply drag & drop the information you’d like to collect from each signer. To make things even clearer, you can rename the signature fields for different signer roles. You can even add custom fields to collect non-standard information.
No matter what type of document you’re working on, Vinesign is flexible enough to collect the information that you need.
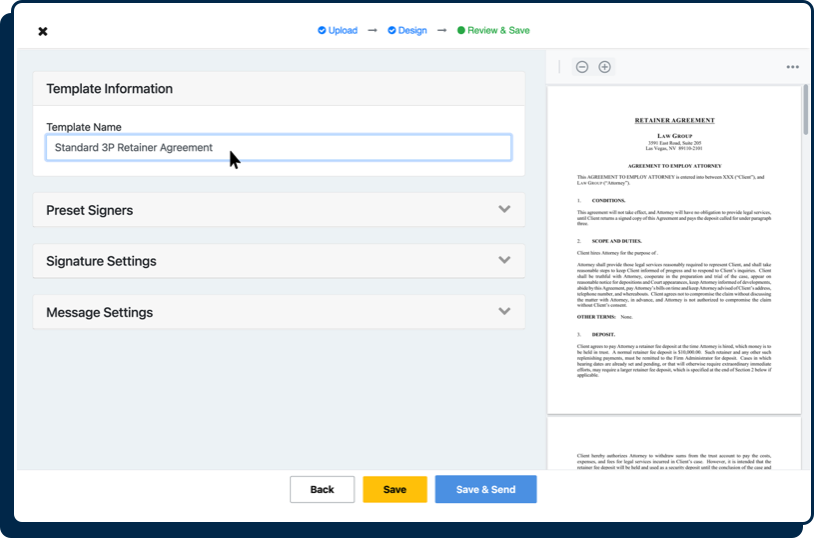

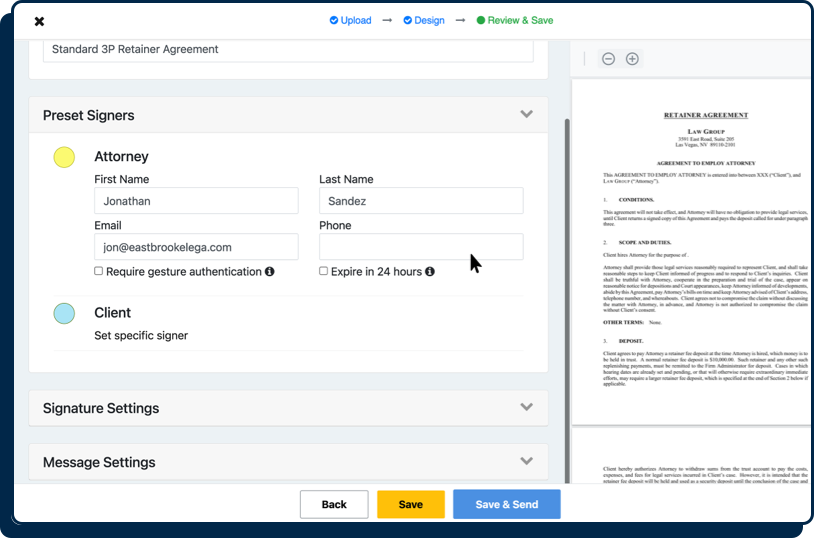
Template Name & Signer Info
You’re almost there! Just give your template a descriptive, memorable name. If one signer is always the same person, you can pre-fill their signer information. This works great for designated countersignature contacts. If you’d like, you can also establish signature and expiration settings, too. Save your template, and you’re ready to go!


Save Time with Templates
Vinesign’s robust templating capabilities offer an easy way to create electronic signature requests. You can either build a template from a commonly used document, or turn one of your recent signature requests into a template if you expect to use it again. Intuitive template organization means sending an electronic signature request is never more than a few clicks away.
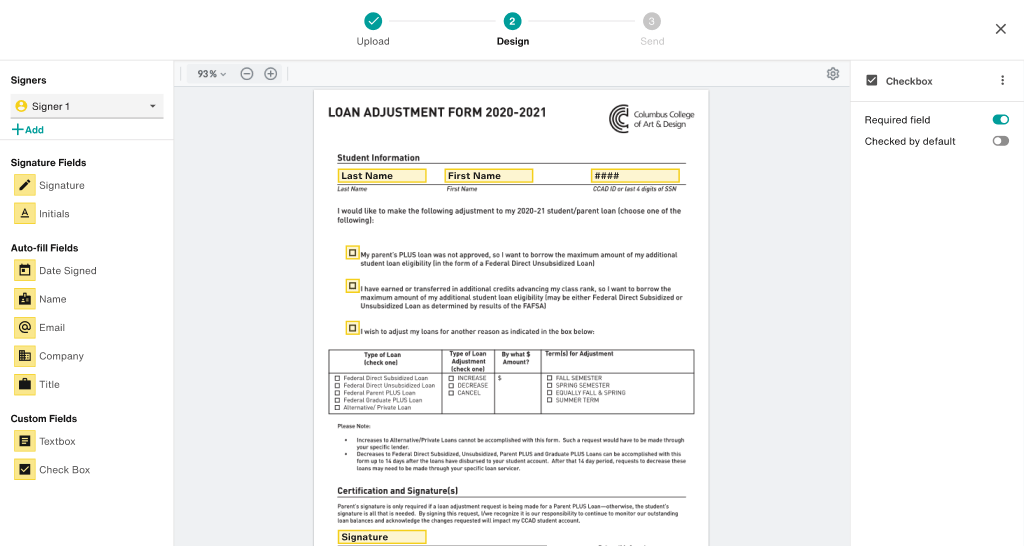
Customize Your Templates with Saved Custom Fields
Go beyond pre-built fields! Create custom fields (name, email, date, signature, etc.) to collect specific information from your signers. Save and reuse these fields across templates for a personalized signing experiences.